Sending fax from Chrome browser by using WiseFax extension is a very easy procedure. We will tell you how to send fax from your browser with WiseFax.
1. Add WiseFax extension to your Google Chrome browser
You must use Google Chrome browser, where you install Wisefax extension following this link. Click Add to Chrome button and then confirm this by clicking Add extension in new window. WiseFax extension is added to Google Chrome.
2. Fax from Chrome with WiseFax
To send fax from Chrome, click the WiseFax icon – it’s a blue right-facing arrow icon in the upper-right side of the Chrome window. WiseFax will open in a new tab.

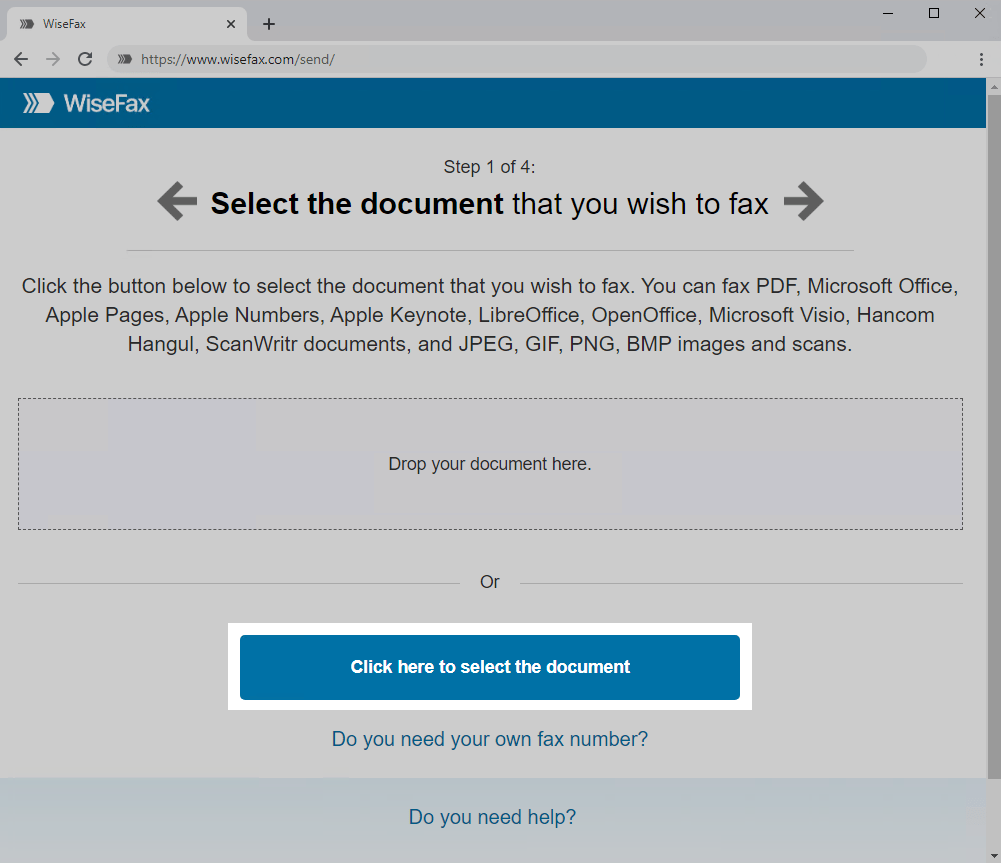
Click the Click here to select document button. A new window will pop-up where you will be able to select the document that you want to fax.
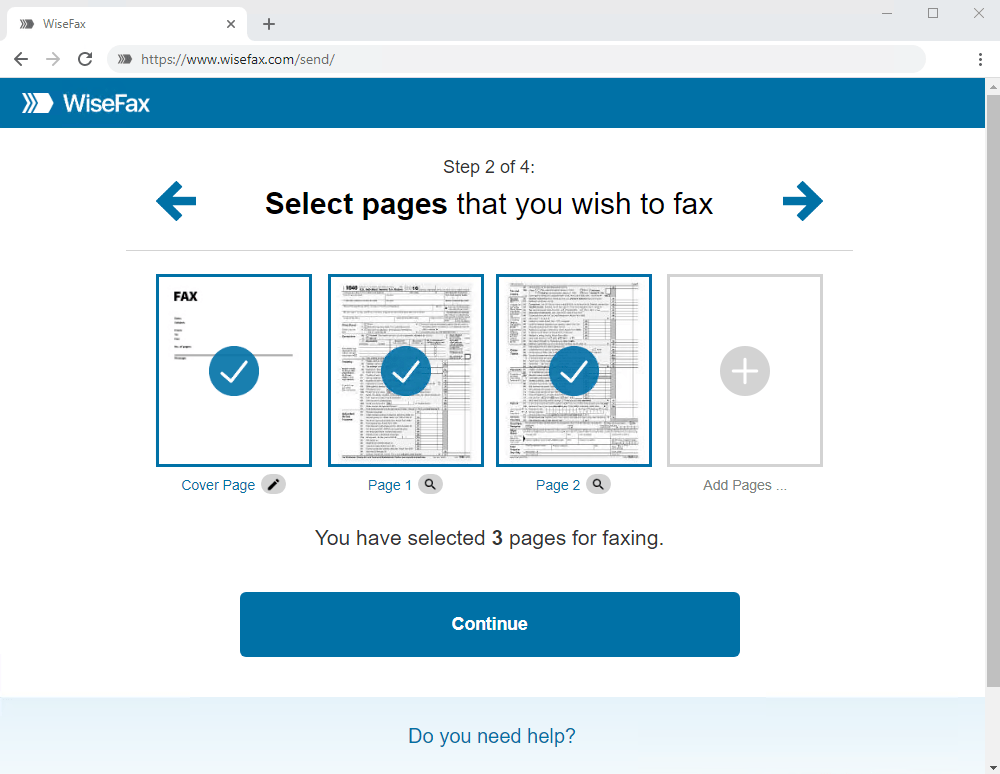
Select pages that you wish to fax. If you wish to add additional pages from another document, then click on the Add Pages and select the document that you wish to add pages from.
Press the Continue button, once you have selected all pages that you wish to fax.
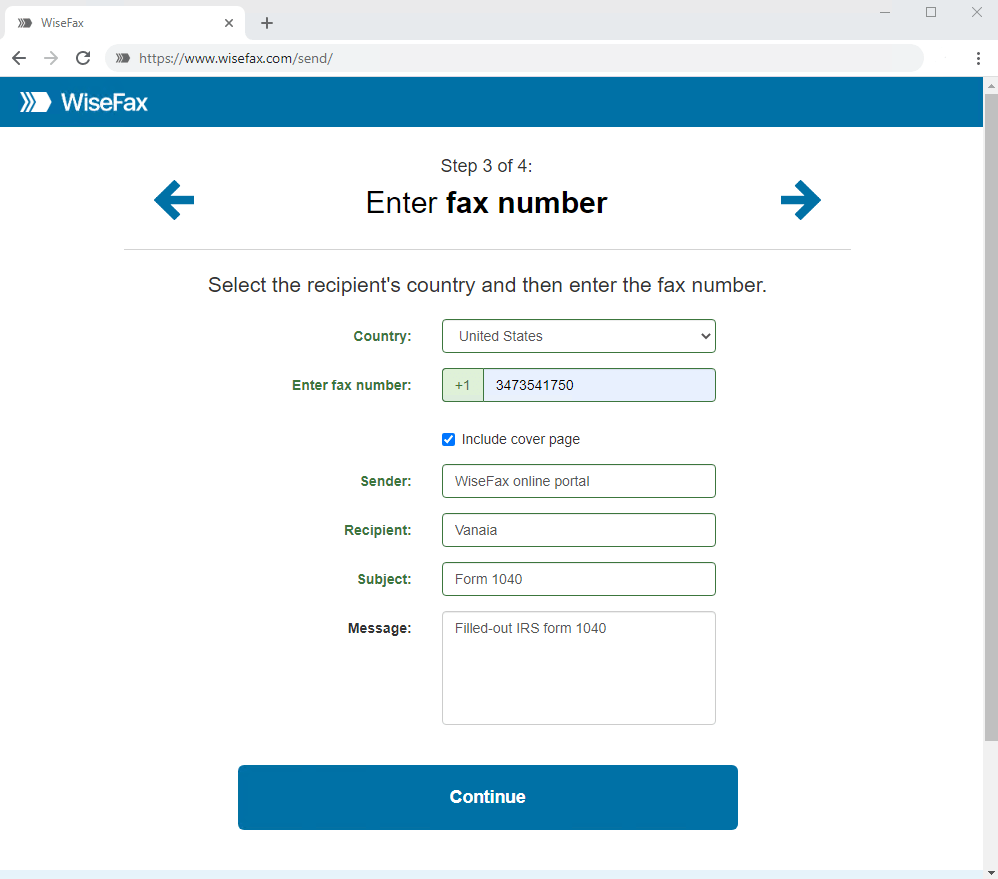
Enter the recipient’s fax number in the next step, then click Continue.
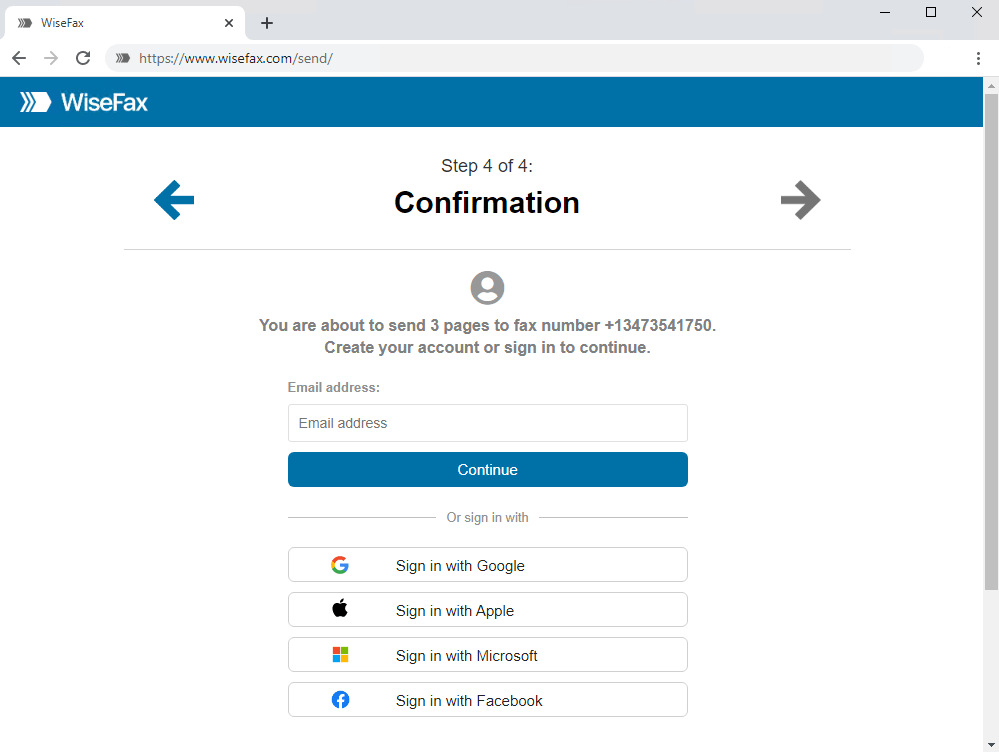
Signing-in and confirming fax
You can sign in with the same account that you also use to sign in into Google Chrome. To do so, click the Sign in with Google account. Select an account that you wish to use to fax your document. You can also sign in with your Microsoft Live, Apple, Facebook or Vanaia account.
If you don’t have enough fax tokens to send your fax yet, then click Buy required number of fax tokens button. It’s a blue button at the bottom of the page. Doing so opens a pop-up window, where you can enter your credit or debit card’s details or click Other methods link in the upper-right side of the window if you wish to use PayPal or Amazon as your payment method.
The last step is to click the Send button. You will receive an e-mail notification as soon as WiseFax will start processing your fax. This usually happens couple of minutes after you had pressed the Send button.
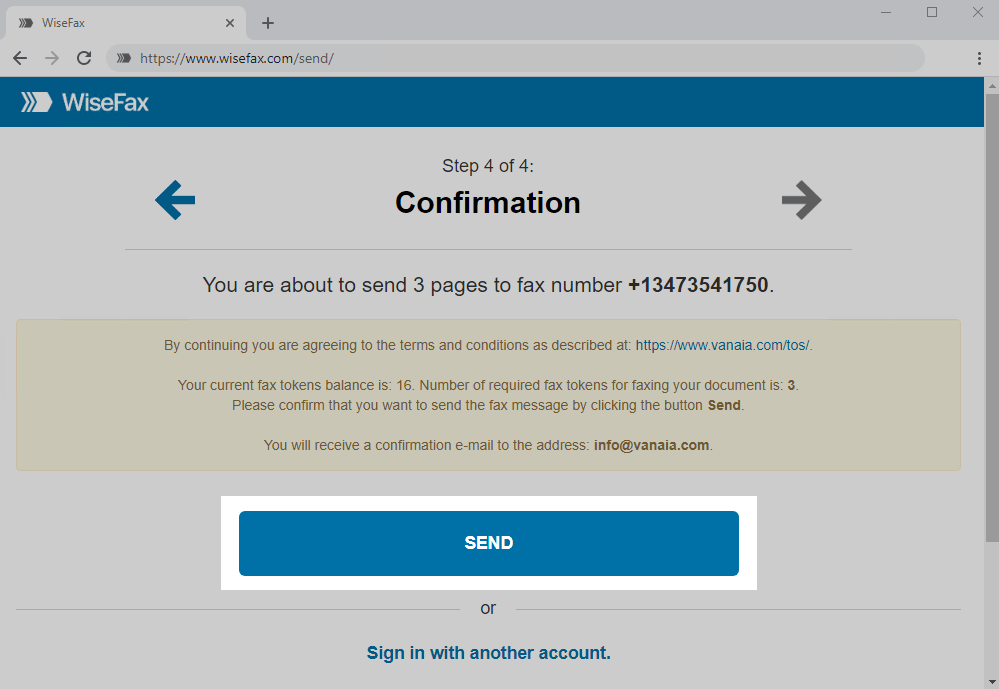
You will receive an e-mail confirmation as soon as your fax will be delivered to the recipient.
If for some reason WiseFax will be unable to fax your document (for example if the recipient’s line will be temporarily unreachable or busy), then you will also receive an e-mail notification from WiseFax. You will then be able to fax your document once again later without purchasing additional fax tokens. Now you know how to fax from Chrome with WiseFax!
More resources
WiseFax add-on for Google Docs
How to fax PDF document?
How to send fax online?

